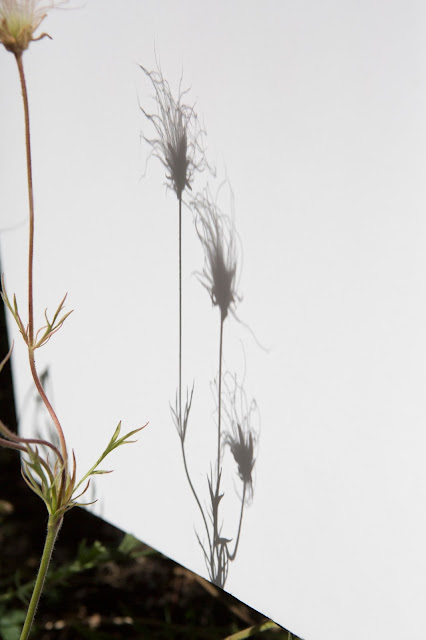
After the shadow images are captured, they go through a little processing in Photoshop. Below is the original image of prairie smoke
(Geum triflorum) as it was photographed at the MSU W.J. Beal Botanical Gardens. This was a hard plant to get into focus as even the slightest breeze disturbed the delicate wisps.
The background is removed and made transparent, even though it still appears white in this image.
Then I sharpen, adjust contrast, and if desired, reverse the image before printing.
It doesn't always work this smoothly, however. Some plants are either too big to fit on the whiteboard or so small and low to the ground that I have to shoot them in segments. I then cut and paste the shadows together as I did below with dwarf lake iris
(Iris lacustris).
And this is where creative liberty comes into play, because not only can I stretch the shadow with the angle of the whiteboard, but I'm able to position plants into new compositions in Photoshop. I wouldn't have been comfortable doing this fifteen years ago for many reasons, but I guess I've grown. :)
Once the shadow is processed, it's printed onto
DASS film, which was created specifically for techniques like the alcohol gel transfer. The use of masking tape on both sides of the film helps pull it go through my Epson 2400 inkjet printer.

Next week I'll post the steps in making an alcohol gel transfer.


